
Making by adding material instead of removing it
When we carve a figure from a block of wood, we remove what we do not need. Most 3D printers take the opposite approach: they add material where it is needed and build an object one layer at a time. This is called additive manufacturing. There is no single universal kind of 3D printer. Some extrude softened plastic, some use light to solidify liquid resin, and others use a laser to join particles of powder.
All these processes begin with a digital description of a shape. If the description has errors, the settings are poor or the material is unsuitable, even an expensive machine will not automatically make a useful object. The printer follows instructions precisely, but it does not know what the part is supposed to do.
Step one: a model the computer can understand
An object is usually drawn in a program, downloaded from a model library or captured with a 3D scanner. lets us specify measurements exactly: the diameter of a screw hole, the thickness of a wall or the angle at which a stand holds a phone. A scan records the surface of an existing object, but the resulting model often needs repairs before it can be printed.
An STL file usually stores surface geometry as a mesh of tiny triangles. It is widely supported, but on its own it conveys little about colour, material and other properties. The newer 3MF format can carry more information, although what gets used depends on the software and printer. Neither file is yet a ready-made sequence of movement commands. It describes the object we want.
The model must define a closed solid, without gaps through which its imagined interior would “leak”. We also check whether thin walls are thick enough for the chosen machine, whether the object fits on the build plate and which parts would have no support while they are being made.
Step two: the digital model becomes a stack of thin slices
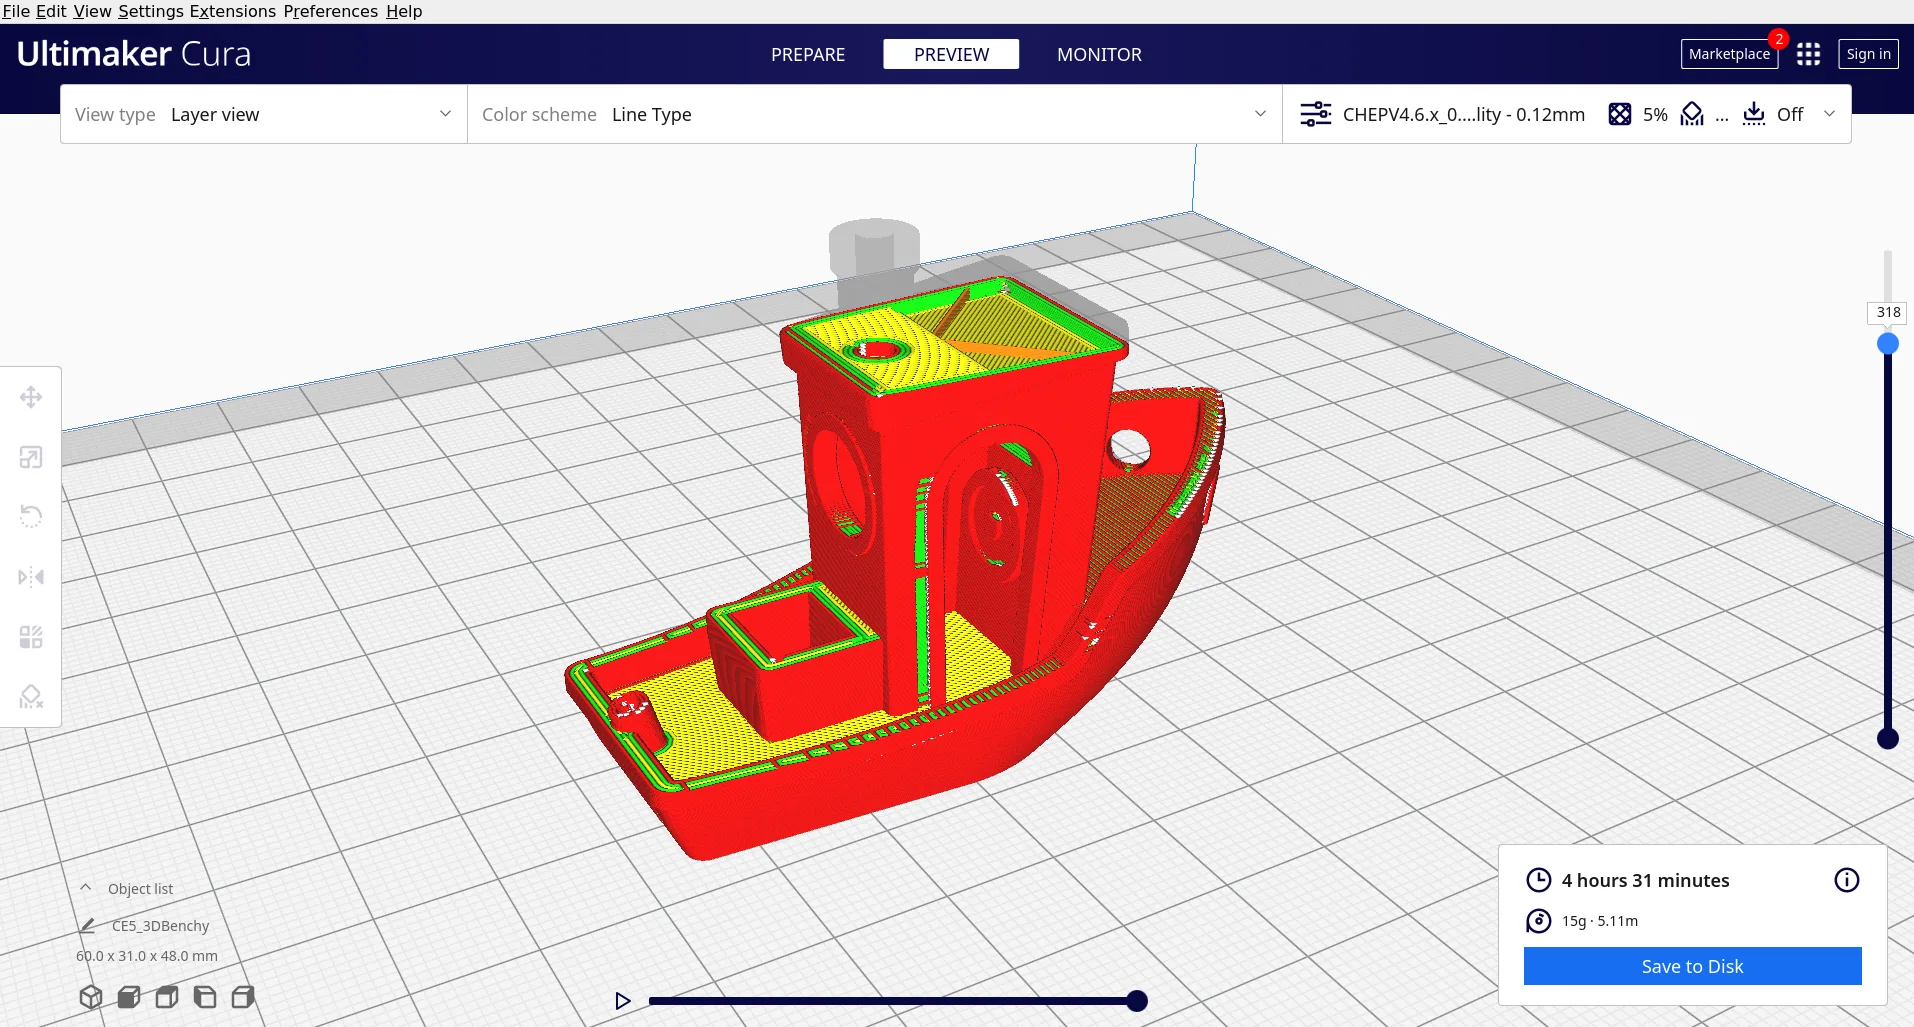
The model goes into , often simply called a . The software divides it into many horizontal cross-sections. For each section it calculates where to make outer walls, internal and , and how fast the head should move. On many machines the result is a set of instructions in .
Layer height affects appearance and print time: thinner layers can follow small changes in shape more closely, but there are more of them to make. We also choose wall thickness, temperature, cooling, speed and the object’s orientation on the plate. A part printed upright is not necessarily as strong as the same part printed on its side. The bonds between layers can be weaker, so we orient a loaded part to keep the expected force from pulling those layers apart.
Consider a phone stand. First we measure the phone and its case, draw a slot with a little clearance and check whether the base will be stable. In the we choose its position, wall count and any . We print a trial piece, check the fit and revise the model if necessary. This is why 3D printing is valuable for prototypes: each real object quickly shows us which parts of an idea actually work.
Keanu Dölle · Sources ↗ · Image terms ↗
What happens inside a common desktop printer?
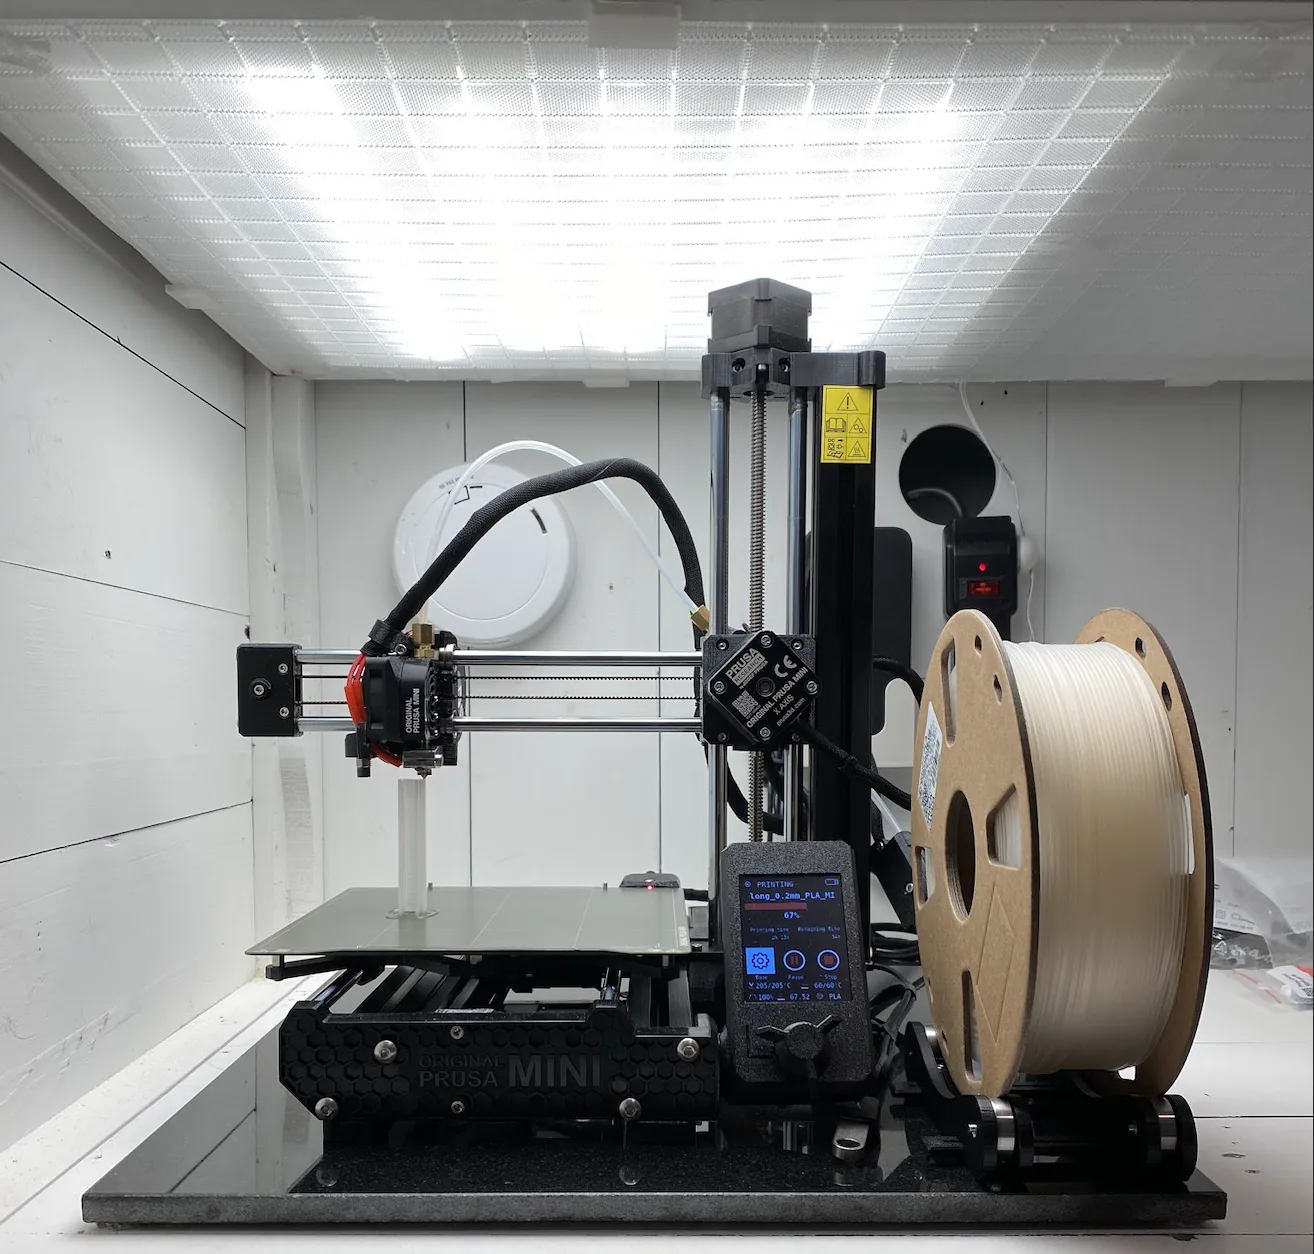
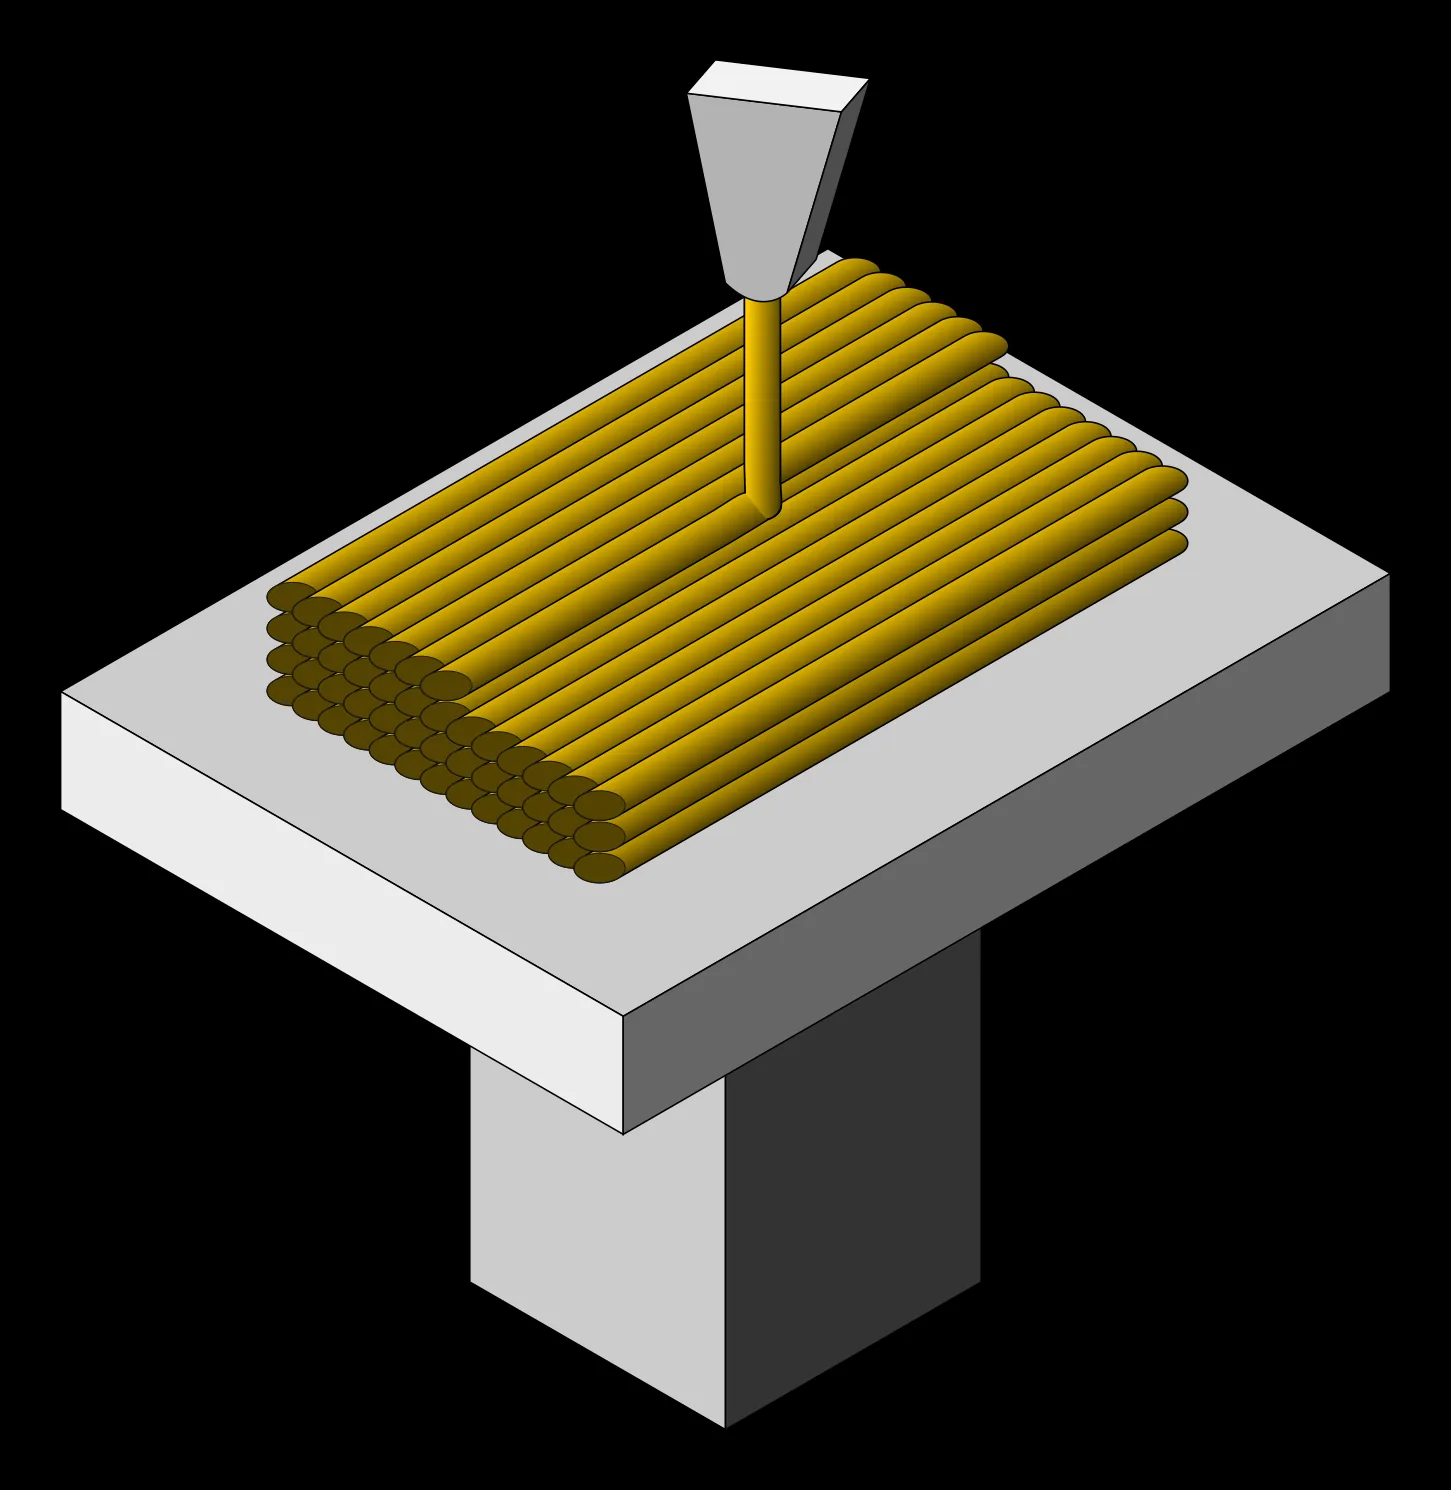
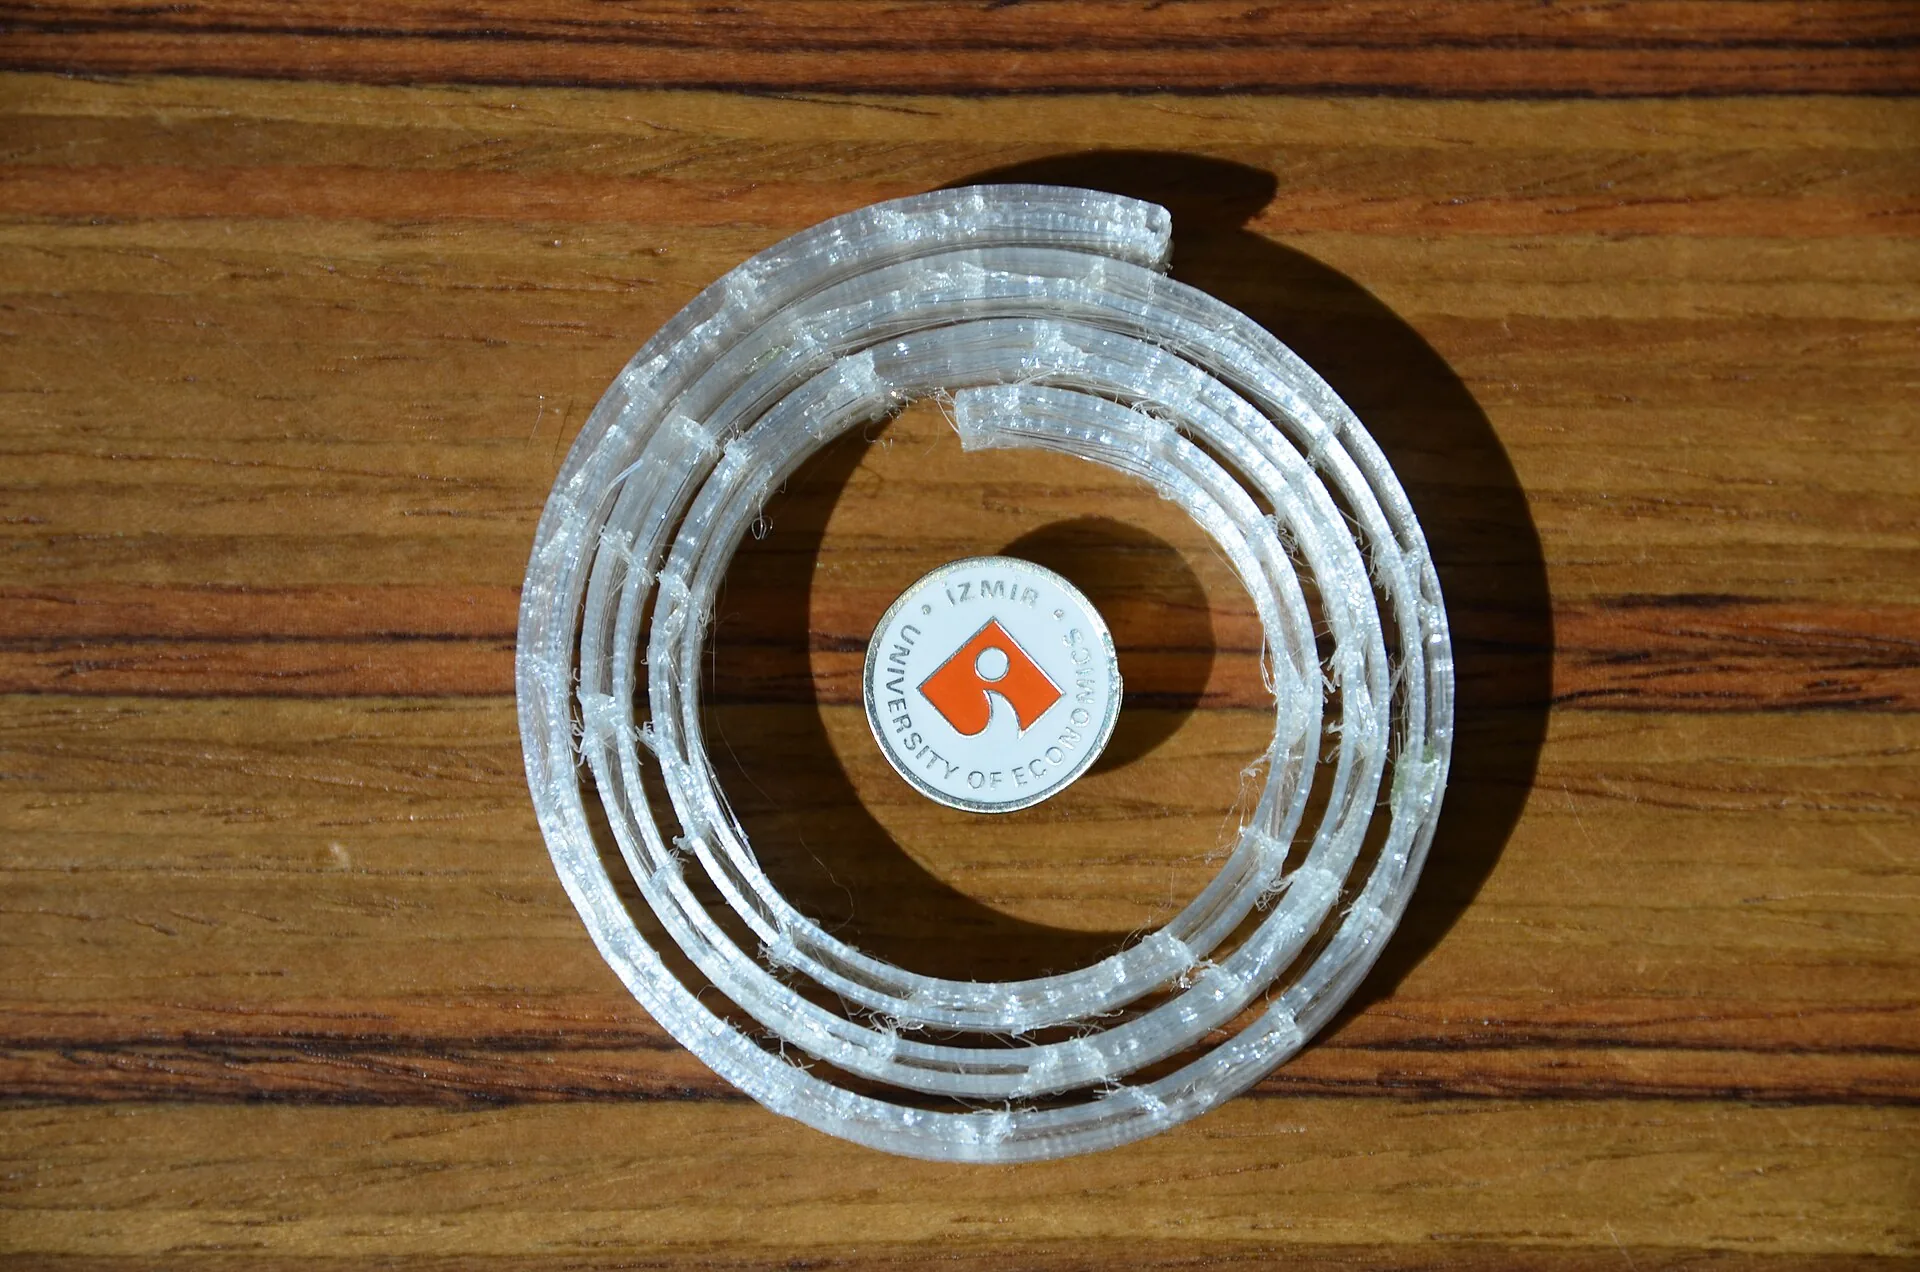
In FDM/FFF printing, which deposits softened material from a plastic strand, a motor pushes the through a heated part of the print head. The material softens and passes through a narrow nozzle onto the build plate. The head or plate moves along the X, Y and Z axes. The nozzle traces one layer, the relative height changes and the next layer begins. The plastic cools and bonds to the material beneath it.
The first layer matters especially. If the nozzle is too far from the plate, the strands may not stick; if it is too close, the material may be flattened excessively or its flow disrupted. For some plastics a heated plate improves adhesion and slows uneven cooling. Nozzle and plate temperatures, as well as cooling, are chosen for the particular material and manufacturer’s guidance rather than by a universal setting.
For the object to stay in one piece, each new line must bond well enough to neighbouring lines and the layer below. If it cools too quickly, the bond may be weak; poorly chosen temperature or flow can also spoil the surface. Strength is therefore not just a property printed on the plastic’s packaging. It depends on geometry, layer direction, wall thickness and how the printer operated.
A large overhang, such as the outstretched arm of a figurine, cannot keep growing in mid-air. can add temporary that are removed afterward. Warping is another common problem: parts of the plastic may cool and shrink at different rates, pulling an edge away from the plate. Visible layer lines and limited strength between layers are also characteristics of this process.
Gringer · Sources ↗ · Image terms ↗
Murat Bengisu · Sources ↗ · Image terms ↗
Resin and powder: two other ways to make the same shape
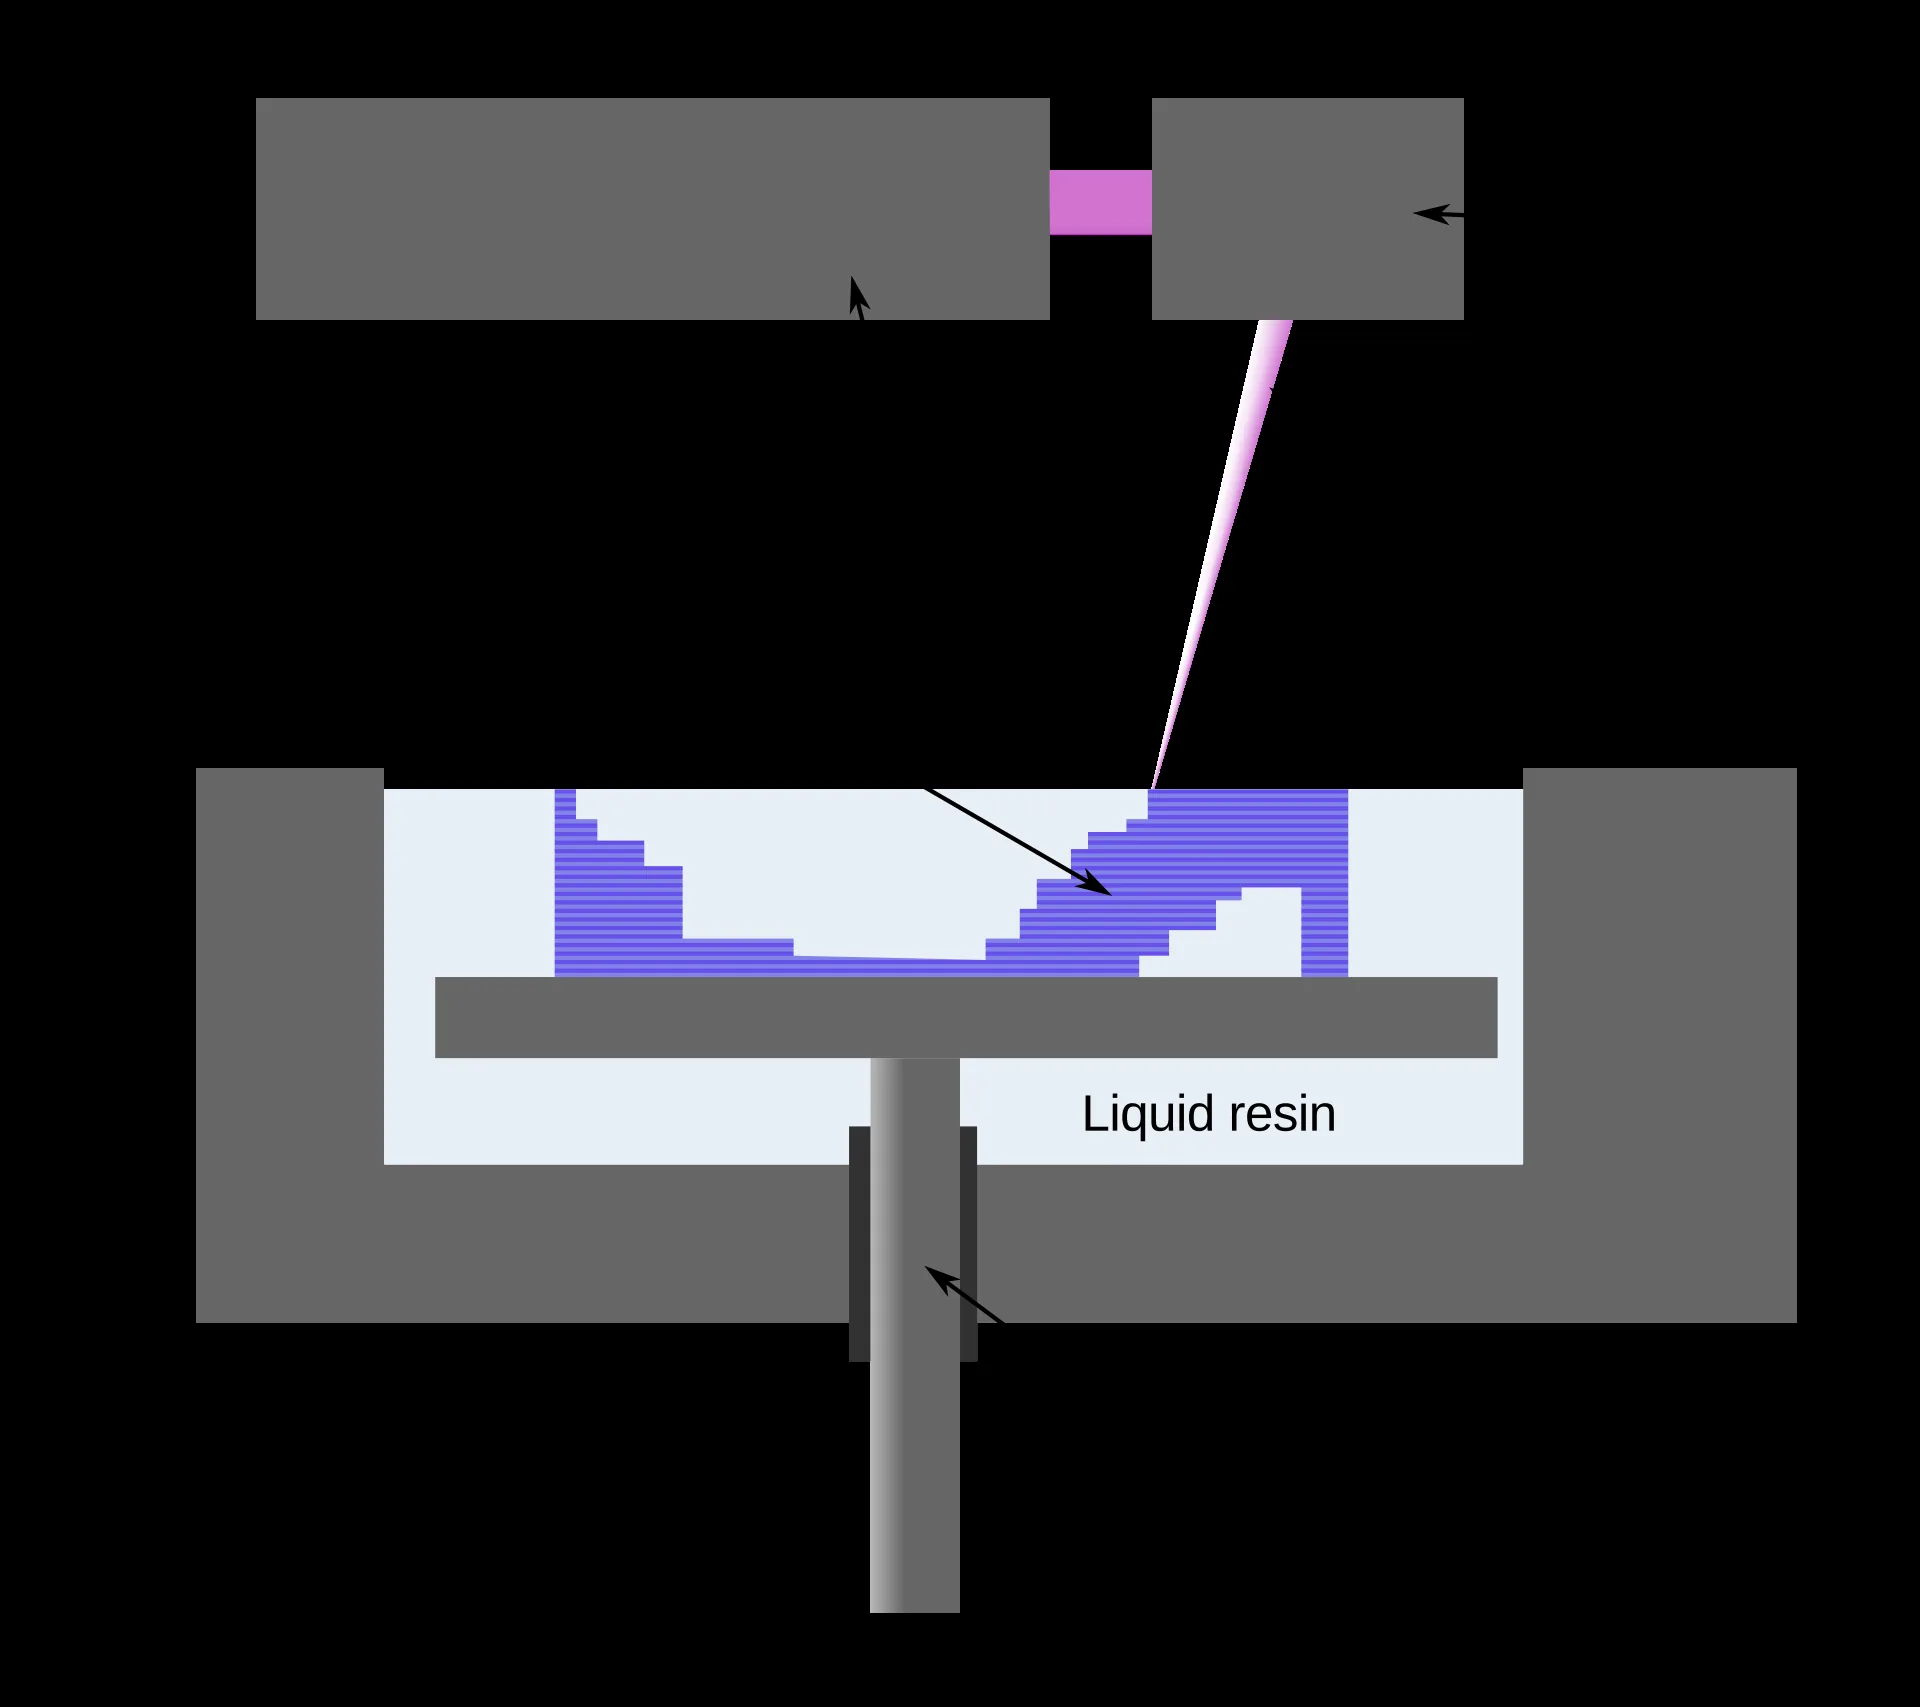
Stereolithography (SLA) and related digital light projection (DLP) processes begin with liquid . Light selectively solidifies parts of each layer: a laser can trace a path, while a projector or screen can expose a whole cross-section. These methods can reproduce fine details, but the type of resin determines whether the part is rigid, flexible or suited to particular conditions. After printing, the object normally needs to be washed to remove leftover resin and cured further according to the material instructions. Uncured resin requires careful handling and suitable protection.
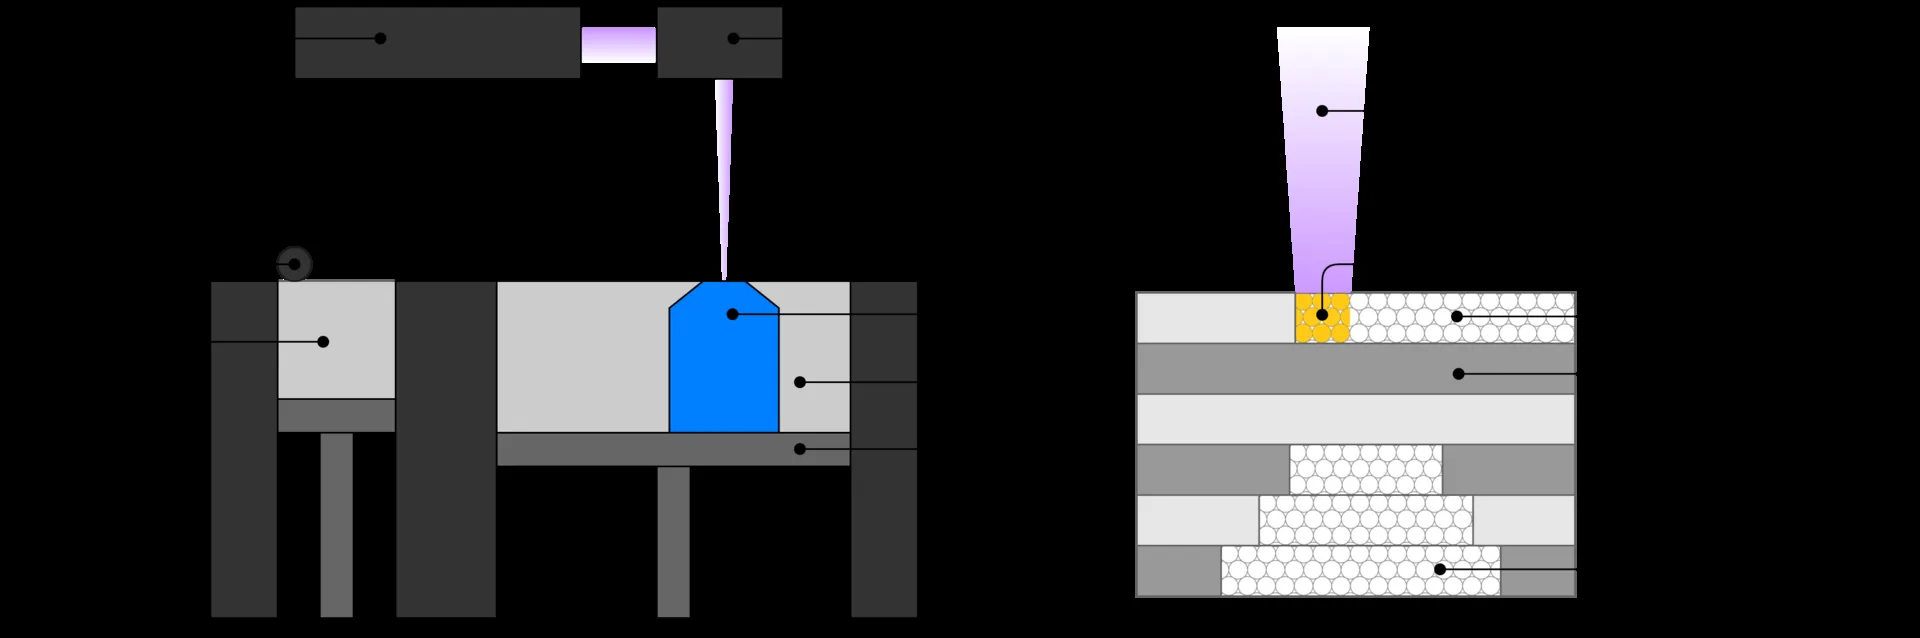
In selective laser sintering (SLS), a roller or similar mechanism spreads a thin layer of polymer powder. A laser heats and joins particles where the part should exist. A new powder layer is then spread and the process repeats. Unfused powder surrounds and can support the part, so many intricate shapes need no separate of the kind used in FDM. After cooling, the parts are removed from the powder and cleaned. Related powder-based processes also make metal parts, but the machines, energy, feedstocks and safety requirements differ. None of these methods wins at every task: detail, strength, cost and finishing work must be weighed together.
Materialgeeza; vektorska obrada Pwnagic · Sources ↗ · Image terms ↗
FM1418 · Sources ↗ · Image terms ↗
| Process | Starting material | What forms a layer | After printing |
|---|---|---|---|
| FDM/FFF | Plastic filament | A heated nozzle deposits material | Remove supports and finish the surface if needed |
| SLA/DLP | Liquid resin | Light solidifies selected areas | Wash, cure further and remove supports |
| SLS | Polymer powder | A laser joins powder particles | Cool, remove from powder and clean |
What should we print with — and what can the part be used for?
PLA is common in desktop printers and is relatively easy to print, but it is not suitable for every object exposed to heat or heavy loads. PETG and ABS have different mechanical and temperature properties, and they also call for different printing conditions. Resins, nylon powder and metal alloys offer other possibilities, but they belong to different processes and cannot simply be poured or fed into any machine. The choice depends on the object’s purpose, required accuracy, expected forces, working environment and safe finishing options.
A printed medical device, car component or food-contact object is not reliable merely because it looks good. Such uses require appropriate materials, a controlled process and testing of the finished part. In medicine, 3D printing is used for certain devices and implants tailored to patients, among other things. It would be an exaggeration to say that completely functional human organs are already printed routinely.
How accurate is a printed object really?
Two ideas are often confused: resolution, the smallest step or detail the machine can produce, and accuracy, how closely a real measurement matches the intended one. A printer may make thin layers and still leave a screw hole slightly narrower than specified in the model. Material expands when heated and shrinks as it cools, while the nozzle itself has a finite width. Parts that must fit together therefore need clearance and often a trial print.
We cannot judge quality only by looking at the top surface. We should check dimensions, flatness, marks left by , bonding between layers and behaviour under load. A small error may be unimportant on a decorative figurine but decisive in a part holding something heavy. The process is thus closer to small-scale manufacturing with quality checks than to printing a document.
Safety in the workshop and classroom
The nozzle and build plate can be very hot, and moving components can injure a hand touched during operation. Some filaments release fine particles and volatile substances while printing. The machine should therefore be used in a well-ventilated space and according to the manufacturer’s instructions; an enclosure and extraction can provide additional protection. With resin printers, avoid skin contact with uncured material and follow instructions for gloves, washing, curing and waste disposal. Appropriate supervision matters in schools.
Being allowed to download a model does not automatically mean we may sell it, modify it or use someone else’s protected design. Before sharing or printing a model made by another person, check its licence and the rules for the particular use. This matters especially when a printed object is intended to perform a safety function or be used in public.
Why does the technology matter?
The greatest advantage of 3D printing is often not that it will replace a factory, but that it lets us make a version quickly, spot a problem and design a better one. An engineer can test how parts fit, a student can hold a model molecule, and a doctor can use an anatomical model while planning certain procedures. For mass production of simple objects, other methods are often faster and cheaper. The useful question is not only “can this be printed?” but “is printing the best way to make an object that will actually work?”